ASADA MESH Guideline for
“A-Type Screen Printing”
- Screen Printing
- Technical Information-02
In recent years, individual material technologies in Screen Printing have improved dramatically, which has made it possible to print a line width of 50 micron or less in various fields. Although Screen Printing is well known for superior usability and versatility in the manufacturing process, high Quality Screen Printing in electronics industries must be used under the strictest conditions with optimized materials and settings.
“A-Type” introduces a number of fundamental principles of Screen Printing as well as more advanced technologies to develop Screen Printing further.
Factors that affect Stainless Steel Wire Mesh
Tensile Strength
It is better to select the mesh with the highest possible Tensile Strength. It helps other parameters like peel-off velocity, dimensional accuracy, screen life, and so on, thus mesh strength is the most important aspect in printing. It is necessary to pay more attention to the mesh strength when printing narrow lines because the tensile strength of a finer mesh with thinner wires is usually lower. For accurate dimensional screen printing, or when printing with high viscosity paste and have tougher peel-off, Ultra-Hard HS-D mesh is highly recommended.
Opening Rate
Discharging ink volume fluctuates depending on Screen Mesh opening rate. When the opening rate is too high it often causes bleeding and the printed resolution becomes less clear. We recommend 40% opening rate for fine line printings.

Thickness
Mesh thickness influences the print laydown and the resolution directly. Mesh thickness can be reduced by a process called Calendering.
Mesh Count
Printing performance becomes most stable when the screen opening has more than double the mesh pitch (25.4mm/mesh count). Even when the screen opening has only 1.5 times the mesh pitch, ink with high printing performance makes quality printing possible. Moreover, by optimizing the viscoelasticity of inks, the opening can be reduced down to 0.8 times the mesh pitch.


| SPEC | MESH COUNT |
WIRE DIA.(µm) |
Stretching | OPENING RATE |
THICKENSS(µm) | Pitch (µm) |
|
|---|---|---|---|---|---|---|---|
| Normal | Calender | ||||||
| BS | 325 | 28 | Direct Stretching | 41% | 60 | 55/40 | 78 |
| MS | 400 | 23 | PS Trampoline | 41% | 55 | 40/26 | 64 |
| MS | 500 | 19 | PS Trampoline | 39% | 41 | 36/20 | 51 |
| MS | 640 | 15 | PS Trampoline | 39% | 35 | 21/17 | 40 |
| HS-D | 360 | 25 | SS Trampoline | 42% | 59 | 41/29 | 71 |
| HS-D | 500 | 19 | SS Trampoline | 39% | 45 | 25 | 41 |
| HS-D | 650 | 14 | SS Trampoline | 41% | 34 | 23/17 | 39 |
Recommendations for Screen Making
Bias Angle
Standard bias angle is 22.5°. The bias angle is determined by the direction of warp wires. It is recommended that squeegee direction be set parallel to the warp wires.


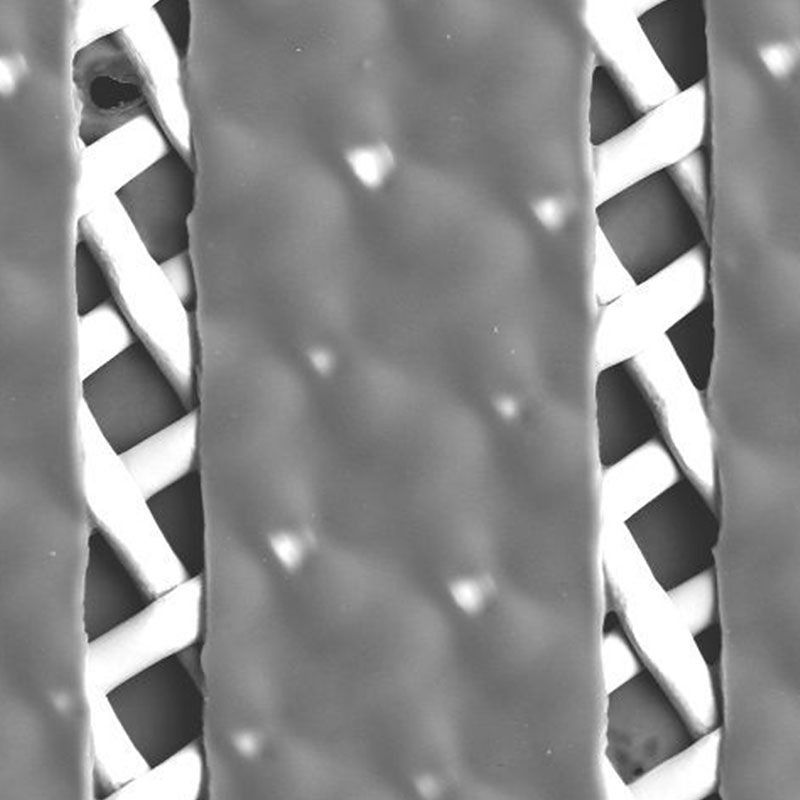
Stretching
There are 2 types of screen stretching – Direct Stretching and Trampoline Stretching. Direct Stretching is when the stainless steel wire mesh is stretched and glued directly onto a frame. Trampoline Stretching uses a stainless steel wire mesh adhered to a polyester mesh; it is recommended when a fine mesh is stretched on a frame.
Screen Tension Level
Select a frame of high strength and stretch the mesh with uniformed tension.
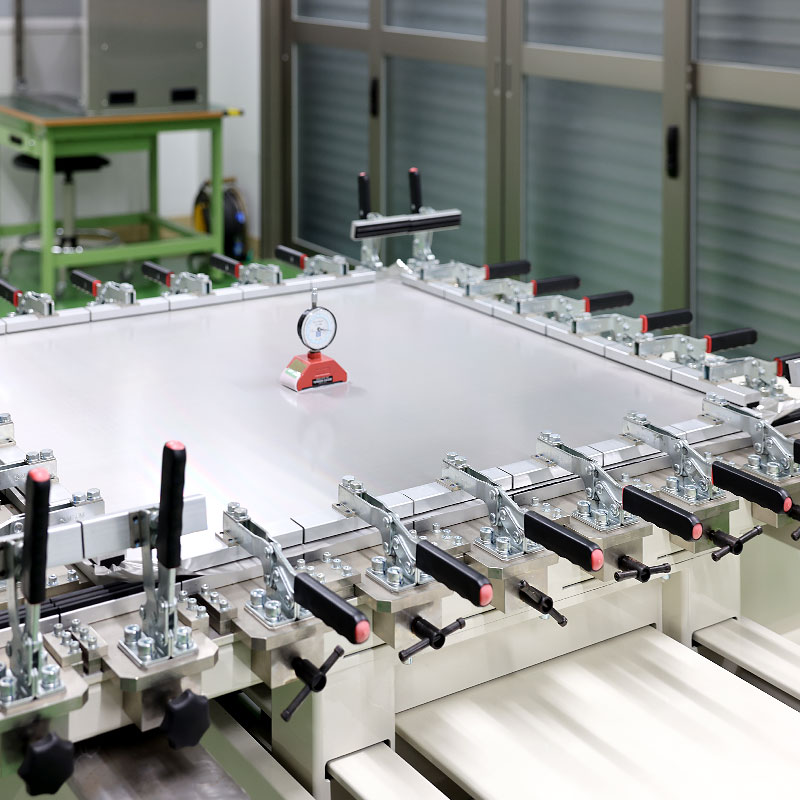
Area Size
The printing image should be smaller than 50% of the inner dimension of the frame. The trampoline should be 75% of the inside dimension of a frame.

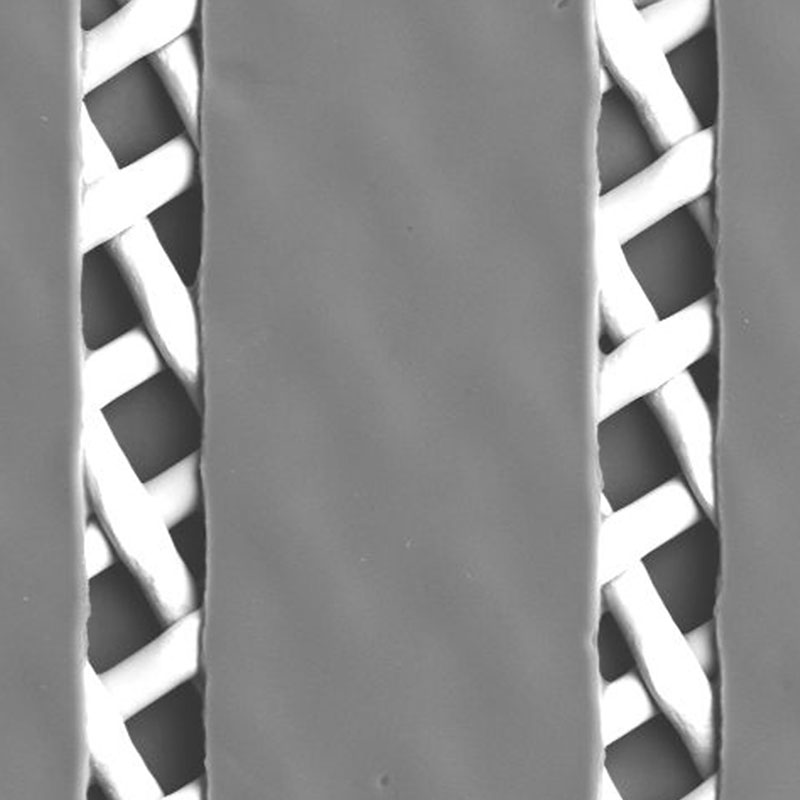
Emulsion
Select an emulsion with an excellent resolution and solvent resistance.
When the emulsion thickness is less than 20 microns; it is recommended that a Flattering Treatment be used to improve the smoothness of the emulsion (RZ Value).
“Water-repellent” emulsion can reduce bleeding caused by low viscosity paste.
Recommended Printing Conditions
Squeegee
Select an 80 durometer hard urethane squeegee with an excellent in solvent and abrasion resistance.※1 Blade Size: 9 x 45-50mm Polish a squeegee edge around 50 micron with a grinder so that it reduces the fluctuation of printed images. “Both sides Grind” Squeegee is useful when an attack angle needs to be set less than 55 degrees.※2
※1. MINO GROUP MINO PLAIN® hardness 80°or equivalent product
※2. MINO GROUP WS cut squeegee® or equivalent product

Scraper
A Scraper plays and important roll– coating and returning paste and keeping screen wet during printing. When set at the proper setting, it enhances the accuracy of printed images. When the paste viscosity is higher, increase the pushing force and set the Scraper lower.
Printing Parameters
There are only 4 printing parameters.

Snap-Off Distance
Standard Snap-Off distance is 1/300th the inside dimension of a frame when the mesh strength index is above 1.0. 10,000 shots are normally possible without causing plastic deformation.
| Tension(PROTEC) | Snap off Distance | |||
|---|---|---|---|---|
| STG75B | STG80A | 320(inside280)mm□ | 550(inside470)mm□ | 1000(inside900)mm□ |
| 0.95mm | 0.23mm | 0.9mm | 1.6mm | 3.0mm |
As mesh strength index is higher, the allowable range of snap off distance is wider.
Squeegee Pressure
Set pressure comfortably over 0.5kgcm of the squeegee width. Ex)50cm width squeegee: 50cm x 0.5kg = 25 kg
Low squeegee pressure causes a fluctuation in printed images. When the paste viscosity is higher, set squeegee pressure higher than usual to get a better paste release.
Squeegee Angle
Squeegee angle determines the “filling force of paste through the mesh. A smaller angle makes the “filling force” bigger. In normal circumstances, 70 degrees is the standard angle. For high viscosity paste, 40 to 60 degrees is best, and 20 to 30 degrees is best for via-hole filling.
Squeegee Velocity
Squeegee velocity also influences the “filling force” of paste through the mesh. Low velocity makes “filling force” higher and high velocity makes it smaller. Too much “filling force” causes bleeding and too little causes blurring, Appropriate squeegee speed is determined by paste viscosity and peel off condition.
Printing Quality Confirmation
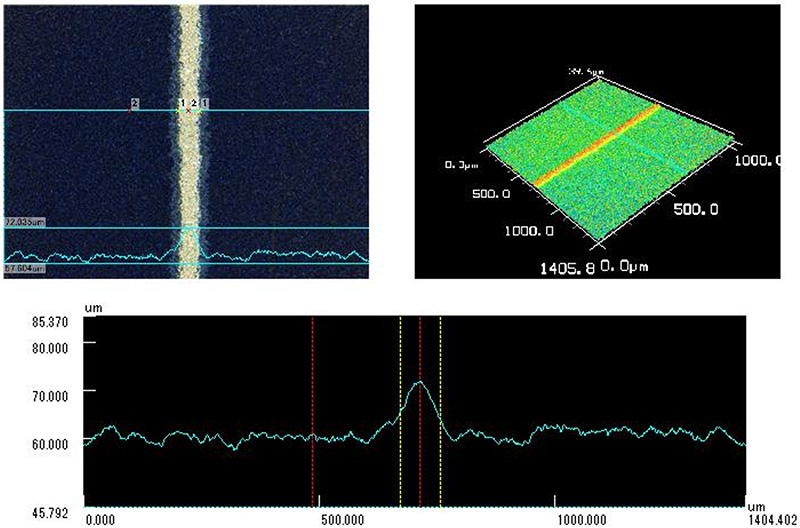
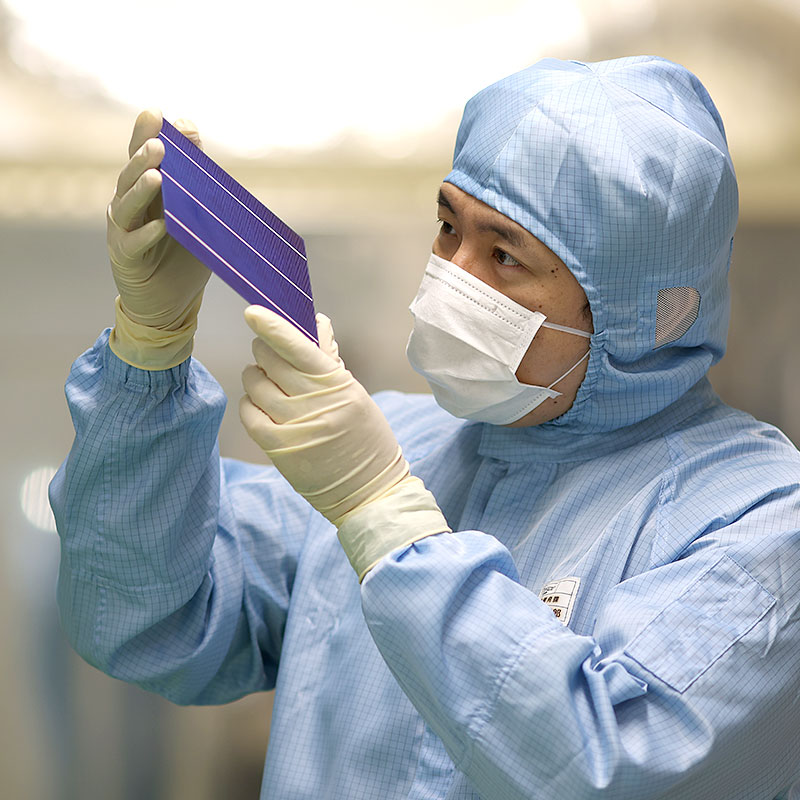
First, check the condition of scraper coated ink on the screen surface, then peel-off performance alongside the squeegee movement, and last, the uniformity of the screen surface after the ink is scraped off. The printed image should be observed with a stereomicroscope or a CCD camera right after printing, before it dries. The surface of the printed wet image reflects the ring illumination light, which makes it easier to observe thickness uniformity. Check the outcome of the second print and if it is good, check the outcome again after 20 continuous printings to make sure that the printed shapes have no distortion.
Screen Cleaning
By using a large quantity of slow-drying solvent, rinse the screen from the squeegee side gently without damaging the other side (emulsion side), and clean out the screen openings. If the cleaning follows the appropriate steps there should be no problem washing even the screens with 30-micron line patterns. Poorly washed screens can cause printing problems like line cutout. Explained below are the basic steps of screen cleaning.
Preparing to wash the screen
-
Collecting Paste from the Printer
Collect left-over paste from the squeegee side of the screen by scraping with a short squeegee.
-
Deciding on Cleaning Solution and Cloth
Decide on a cleaning solution that can dissolve the paste, slow drying as to not damage the emulsion on the screen, and is water soluble and ethylene-glycol based.The cleaning cloth should be soft and absorbent, and made of something as least likely to leave fiber residue.
Recommended Cleaning Solution: Toho Chemical Industry’s Toho Clean RX-850 -
Application of Cleaning Solution
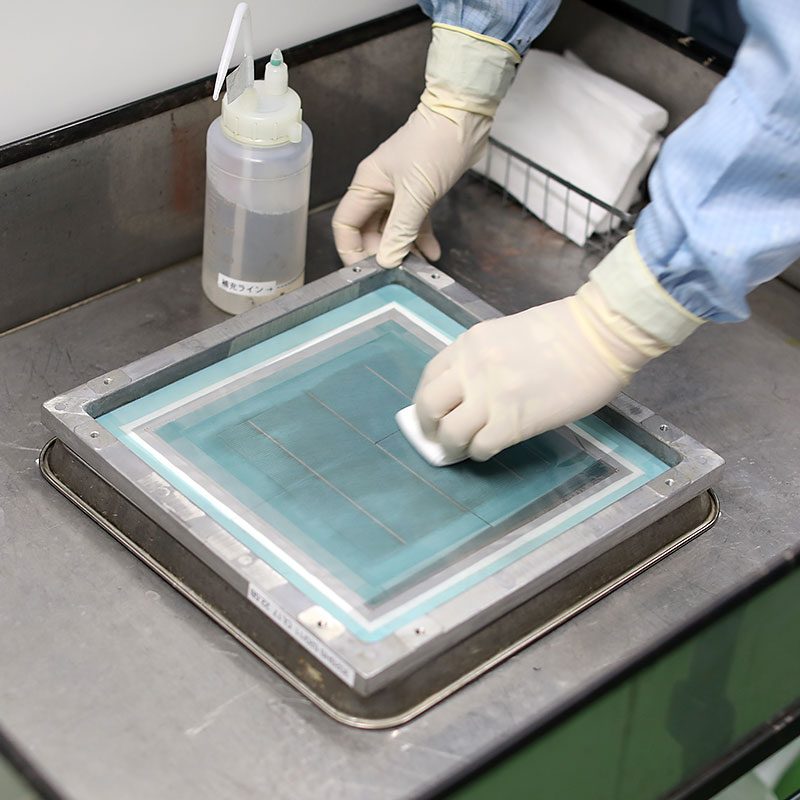
Lay a cleaning cloth well soaked in solution on the stainless steel pad. Put the emulsion side of the screen down on it, and spread cleaning solution on the squeegee side. Do not wipe off the paste left on the screen, but rather rinse the paste out of the openings or wherever else.
-
Washing the Screen
With the cloth, first clean off the paste stuck to the parts of the screen outside the pattern. Next, very gently, use the cloth to clean the paste stuck to the pattern area from the inside out.Each time you use a new cloth make sure to soak it liberally in the cleaning solution, and be careful not to let the paste dry in the openings of the emulsion. For paste that is stuck hard in the emulsion openings, use the cleaning cloth to tap lightly from above to clean it out.
-
Rinsing off the Cleaning Solution
After thoroughly cleaning the paste from the squeegee side of the screen, use a thoroughly soaked cloth to tap the emulsion side of the screen to clean. Perform this once or twice, and as carefully as possible as to not damage the screen. Last rinse off the cleaning solution from the squeegee side as well. If the screen is big, stand the screen up in a plate cleaning platform and perform the same steps as above.
-
Confirming the Screen is Clean
After cleaning, use a microscopic camera or something similar to check if the paste has been cleaned from the emulsion openings.
-
Finishing
Use tap water in a spray gun to thoroughly rinse the cleaning solution from the squeegee side of the screen. Next, use an air blow gun to completely remove the water, starting from the edges and working your way to the center.
Recommended Hand Spray Gun: Anest Iwata W-71 Series -
Drying
After air blowing off the water, put the screen in the dryer at 40 degrees Celsius for about one hour. Make sure the screen is completely dry before using it again.
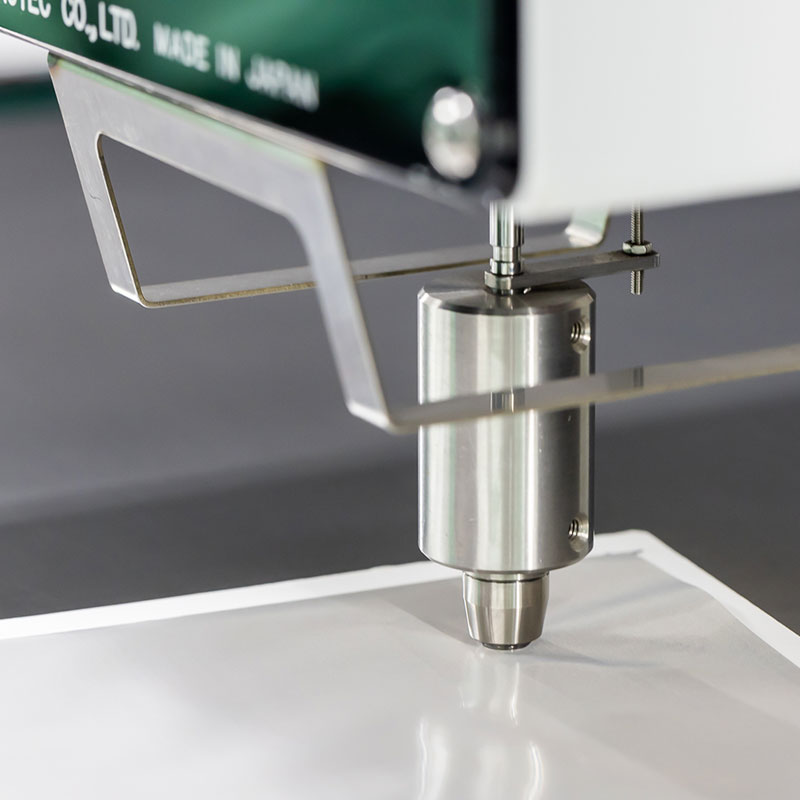
Selecting Paste (Ink)
Pastes used in screen printing must have an elastic property. Such pastes have time-sensitive characteristics, namely that viscosity decreases as shearing force is applied.
Also, when measuring the viscosity of the paste (fluidity of the paste), we recommend using an E-Type viscometer which will allow you to measure the shear rate precisely.
The range of paste viscosity you can use for screen printing goes to as high as 400Pa.S (5rpm). For high-definition printing, we recommend using a paste with high viscoelasticity and high shape retaining property.
